Monday, April 30, 2018

Design Wall Today

My sewing and quilting will slow down considerably this month.  Spring has finally sprung and I will be out in my yard and garden--a lot.  Yay!

Our wild, yet not so wild ducks: Max and Irma, are back and waddling around the back yard. This is the 5th year for them to hang out in our back yard.
Note: that's not trash on the left....it's a sandbox! 😊

I have had this BOM pattern and all the associated fabrics bagged and sitting on my shelf for ummm probably 10 years. Yikes!


...along with about 14 other packaged projects...


 So, my OMG for May will be the first block:
I was so excited when I dug it out of my considerable stash of projects, I have already started . . . just a little.


In addition to that single block, I plan to finish this quilt. You may remember it from earlier posts here and here.

It needs a border and then quilted.

So, I should be able to squeeze in these 2 projects for my OMG for May!


 . . . meanwhile, my garden awaits . . .


Linking up with


Thursday, April 26, 2018

Done! Jeweled Arkansas Crossroad

My April "One Monthly Goal" is finished.


My goal was just to get the top pieced, but cold rainy weather here in Ohio gave me more time to sew and quilt...

...so I quilted it and it's bound! 


Pieced entirely from my scrap bins.

Because I needed to balance the open quilting in the colored X blocks, the neutral areas are done with a freehand wreath with large fluffy, open, bump-back feathers. 
I wanted to go for a "faceted" jewel look in the x blocks.
Sew Fine thread: light grey on all the colored areas and beige on the neutrals.  Grey in the bobbin for both.
I found a 1/2" thick 100% poly batting leftover scrap on my shelf from several years ago that was the perfect size.

As I browsed through my backings, I just happened to have plenty of this purple!
When I got to the binding I auditioned several colors, purple like the backing, orange, green, neutral, blue.....Nothing was working!  I just didn't want to break up the effect of the colored sections of the border. 

So, here's what happened:

I have never pieced a binding like this before, but it didn't turn out too bad.

Here is the quilt before and after the binding--
It melts right into the colored piecing.


I always machine bind my quilts....and I always stitch it to the back and then bring the binding to the front to top-stitch.  However, I didn't think I could do that and still match the colors.

So, I top stitched from the back.
Here's how I do it.
I fold the binding so the edge just matches up the row of stitching where I attached it to the other side.
 
With the fold exactly on the stitched row, I move the needle over one space to the right and guide the fold along the left inside of my presser foot.  Bu moving the needle over you are assured of getting a nice even topstitch on both sides.  I have to use my old Bernina 153 because  I can't override the computer on my 820 to let me move the needle over with the #37 foot. 

I hold it nice and flat with my seam ripper as I sew.

 You can easily make perfect corners too.


Binding for a lap sized quilt like this takes about 45 min to cut, stitch, fold and press and attach--front and back.

This one took about 3 hours because of the piecing, fitting the next color after turning the corner, stitching, turning the corner and stopping to attach the next color... I don't recommend it but I love it for this quilt. 


Hard to believe these 2 quilts were made from the same block pattern--just reversing the color and the neutral

 Arkansas Crossroads


I love them both!

They were both pieced entirely from my scrap bins.
In case you missed the first one you can read about it here:
 Not Afraid of Scrappy Quilts


Linking up with:
 April One Monthly Goal
Confessions of a Fabric Addict
Lets Bee Social
Oh Scrap!


Sunday, April 22, 2018

Jeweled Arkansas Crossroad

Quilting makes all the difference!

Yes!  I found this purple backing fabric in my stash. 

In order to reach all the corners of this neutral space, I decided to quilt a freehand feathered wreath with bump back feathers. I needed a center, but my smallest circle ruler was too large, so I used this container to draw in a circle and then stitched around the line.

The only SID is along the border, I want to make the bright colors look like faceted jewels....love how it's turning out.

linking up with:


Friday, April 20, 2018

April-One Monthly Goal

My OMG for April is complete.


  The final seam was pressed last night.
  
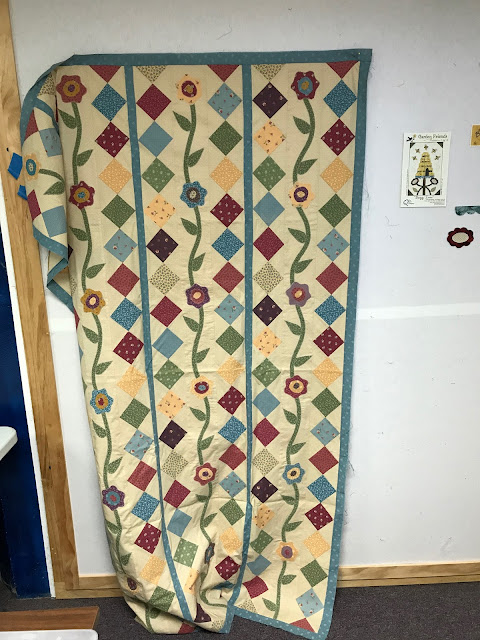
Scrappy Arkansas Crossroads  61x77  (weird size, I know...)
I was inspired by a similar quilt on Pinterest, by Victoriana Quilt Designs.

Now that I am Not Afraid of Scrappy Quilts, my goal for 2018 is to make as many different quilts as I can, using up as many of my scraps as possible.

 Every inch of this quilt top came from these scrap bins.

For future quilts, I also plan to "shop" from my fat quarter and yardage stash.


 ...and extra yardage for backings.

When tasked to use up what is available one is forced to think in creative ways that might not have occurred otherwise.


The colored X blocks were pretty slow to sew, as each one required a layout: then piecing, pressing, matching, sewing, pressing, etc. Mind numbing.


However, the alternate neutral 16 patch blocks were a no-brainier chain piece project.

I even kept a pile of neutral patches by my side and used them as leaders and enders, so I was able to piece several neutral blocks while I was sewing the X blocks.
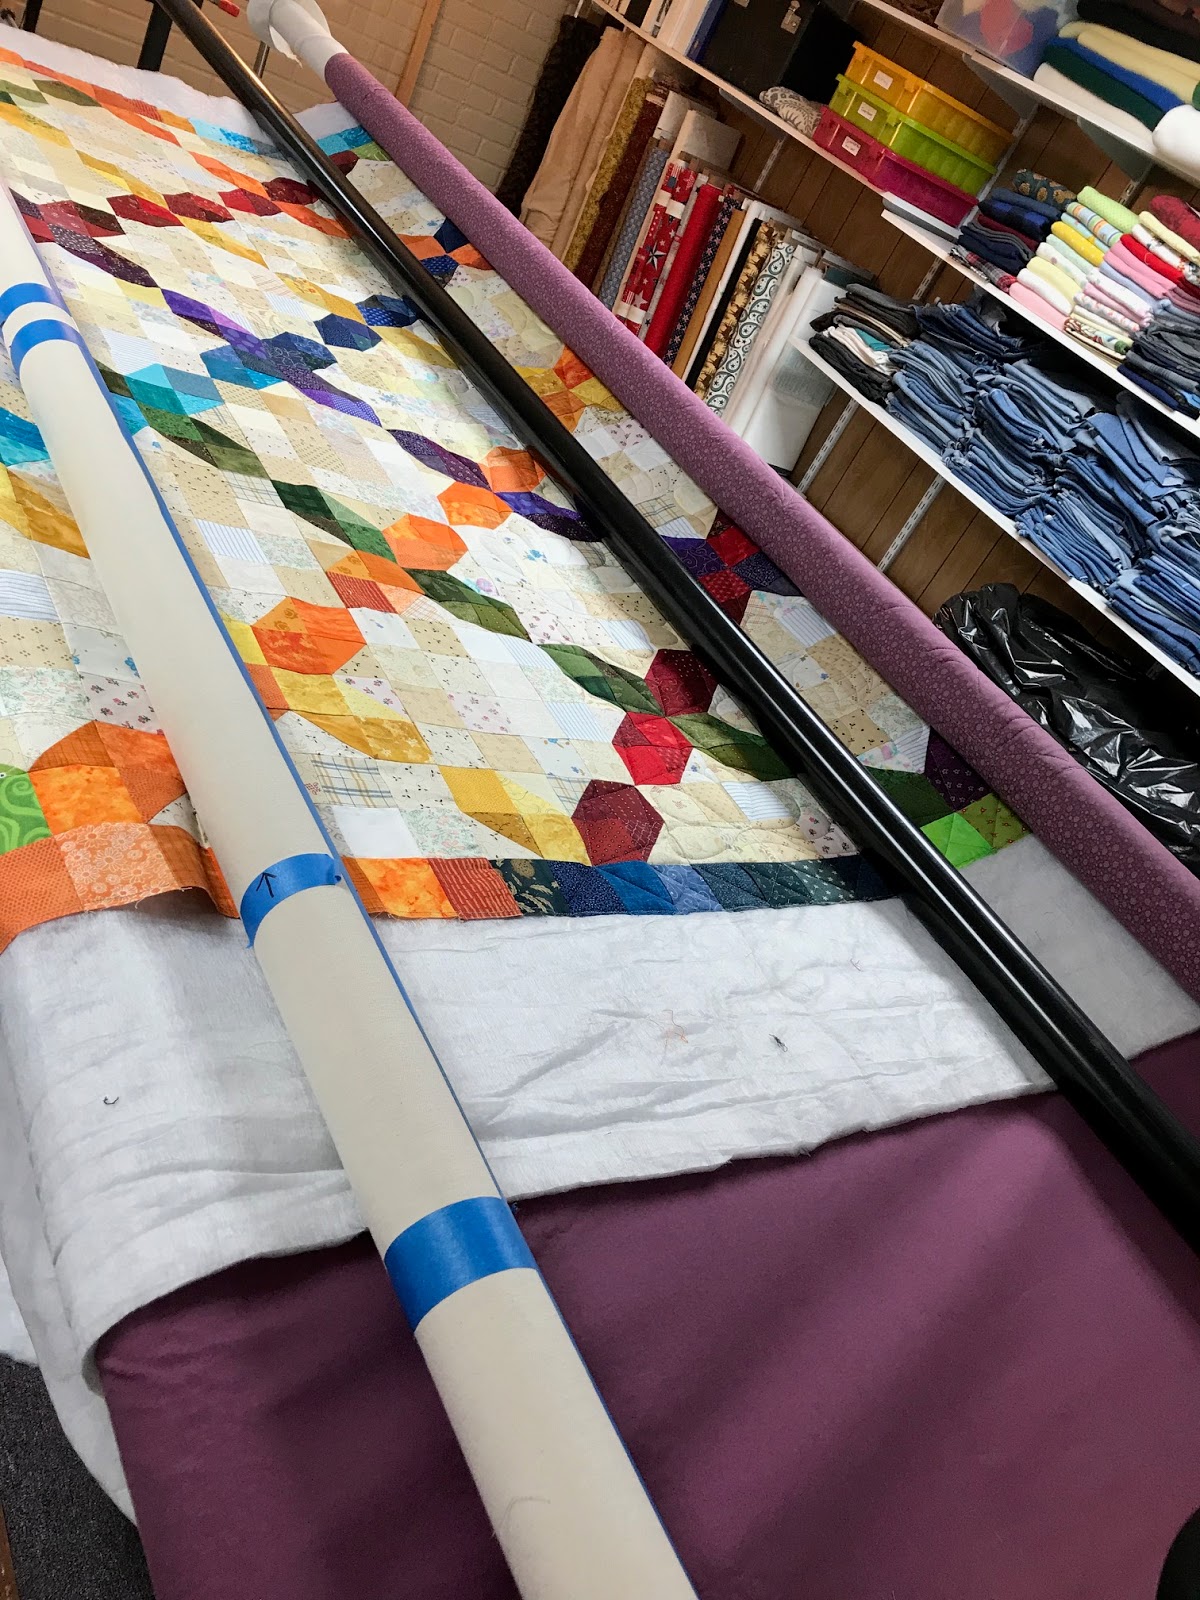
Notice the purple strip markings on my machine?  Those are Q Tools by Marci Baker.  I have used these for about 7 years and can't sew without them.  The right one is 1/4 inch, the left one is lined up with the needle.  This way I can sew half square triangles without ever marking them.  Learn how I use them here:


It was strange to make, I just picked a couple of colors for the first block and then it grew outward from there,


When I got the blocks all done and on the design wall, I decided to add the border to the blocks and then sew the rows.

There were so many seams, I didn't want the edges to all come apart if I handled the entire top too much.  I also stay-stitched all the border edges as I went.

So, since my 2018 goal is to use up my scraps; as I stitched the rows together and assembled the quilt top, I started feeding through (leaders and enders) to use up the leftover 2.5" pieces for my next quilt.


I pulled a yard of black (so dang tired of neutral) and cut up some 2.5" squares to add to my leftover bright colors to start the next project.


Can't wait to see where this takes me...😍

Linking up with


Wednesday, April 18, 2018

Fleece Stadium Blanket

I took a break from my scrappy piecing to make this fleece and denim stadium blanket.


Ingredients:
1) 2.5 yards of 60" wide fleece
2) 2.5 yards of 60" wide denim
3) Batting. I like to use Hobbs 80/20.

I have quilted them with the fleece on top.... 

.....or the denim on top.

It just depends on which piece is slightly larger.  I only have an inch or so around the perimeter of the sandwich anyway, so if one is slightly bigger, I put that on the bottom.

These are fast and easy to make and are great quilts to take to hockey games and feel pretty good during spring and fall soccer.  

This one ended up 55 x 88.

Recipe for fleece binding is here.
Panto pattern: Sprung, by Willow Lear Studio

Quilted with mint green thread.

Linking up with


LinkWithin

Related Posts Plugin for WordPress, Blogger...